Step 1: Launch the Appeon PowerServer 2017 Setup program and select to install PowerServer for .NET (see Starting the installation).
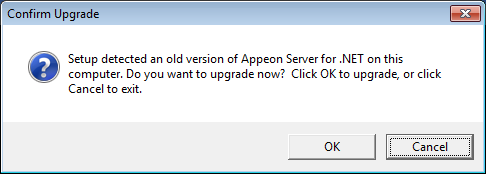
Step 2: Click the OK button in the Confirm Upgrade message box.
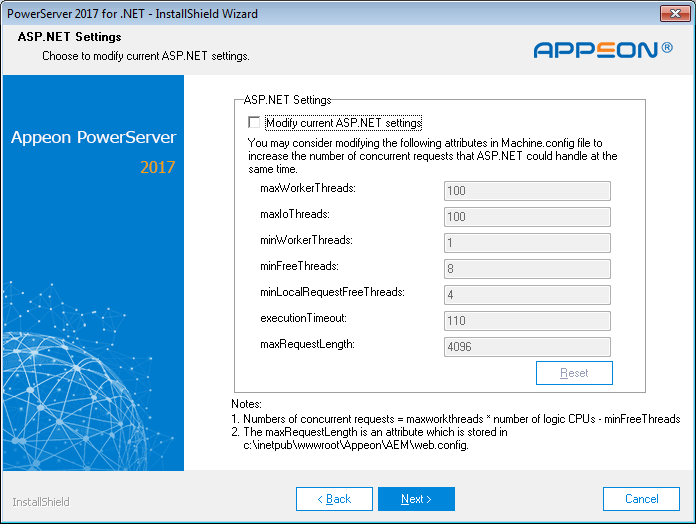
Step 3: Specify the settings for ASP.NET when necessary, and then click Next.
Select the Modify current ASP.NET settings checkbox and then modify the attribute values; or click Reset to restore the default values. These values are used to determine the maximum number of concurrent users that PowerServer can support, therefore, setting proper values can help improve the PowerServer performance. For detailed instructions, refer to the section called “Microsoft IIS server” in PowerServer Performance Tuning Guide.
When the Next button is clicked, a message box opens indicating that the upgrade is preparing files.
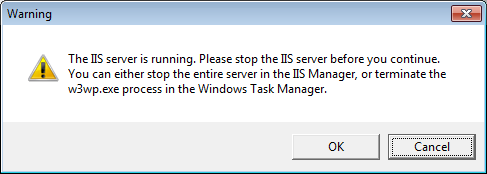
Before the upgrade process starts, if the setup program detects that IIS server is running, a warning message will pop up reminding you to stop it, as shown in the following figure.
The upgrade process uninstalls the old version of PowerServer (including PowerServer instances if any), backs up configurations and begins the installation of PowerServer (including PowerServer instances if any) based on the backup information. This will take several minutes.
Step 4: When setup is complete, click Finish to complete the installation of PowerServer.
Step 1: Launch the Appeon PowerServer 2017 Setup program and select to install PowerServer Web Component (see Starting the installation).
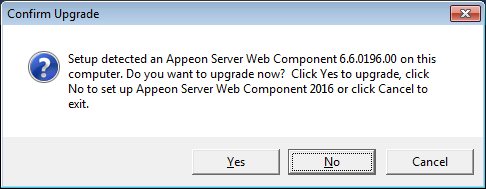
Step 2: Click the Yes button in the Confirm Upgrade message box.
Once you click the Yes button, a message box opens indicating that Setup is preparing files.
The upgrade process uninstalls the old version of PowerServer Web Component then begins the installation of PowerServer Web Component. This will take several minutes.
Step 3: Click the Finish button when the upgrade is complete.
