Follow the instructions below to install PowerServer Mobile/Web to the WebLogic Server.
Step 1: Verify that WebLogic Server, as well as any other programs you may be running, is stopped.
Step 2: Launch the Appeon PowerServer 2017 Setup program and select to install PowerServer for WebLogic (see Starting the installation). Wait until PowerServer completes the preparation.
Step 3: Click Browse to specify the home directory of the WebLogic Server where PowerServer will be installed, for example, C:\bea\weblogic92. Click Next.
Step 4: Choose one or more WebLogic Server domains from the list. The PowerServer EAR package (appeonserver.ear) will be installed to the specified WebLogic Server domain(s).
Step 5: Specify the user name and password for AEM.
Step 6 : Check the summary of settings. Click Back to change any unwanted settings or click Next to have Setup begin copying files.
At the click of the Next button, the setup program begins copying files to your computer.
Step 7: Wait until PowerServer Mobile/Web installation is completed.
PowerServer has been successfully installed to the specified WebLogic Server home directory and the PowerServer EAR package (appeonserver.ear) has been successfully installed to the selected WebLogic Server domain(s).
Step 8: Choose whether to start a PowerServer instance. It is selected by default. To manually start PowerServer from the Windows shortcut later, uncheck the box, then click Finish to end the installation of PowerServer.
For details about starting PowerServer, refer to Starting/Stopping PowerServer.
If the WebLogic Server runs in the Production mode (rather than the Development mode), you would need to manually deploy the PowerServer EAR package (appeonserver.ear) in the WebLogic Server Administration Console after the PowerServer Mobile/Web installation.
Skip this section if WebLogic Server runs in the Development mode because WebLogic Server in Development mode includes an auto-deployment feature which can detect the PowerServer EAR package (appeonserver.ear) and automatically deploy it. In this case, you can verify that PowerServer was successfully installed and deployed by starting WebLogic Server and then accessing AEM (from Programs | Appeon PowerServer 2017 | PowerServer for WebLogic | Instances | InstanceName | Start WebLogic on the local machine).
Follow the instructions below to deploy the appeonserver.ear package if WebLogic Server runs in the Production mode.
Step 1: Start WebLogic Server from Windows Start | Programs | Appeon PowerServer 2017 | PowerServer for WebLogic | Instances | InstanceName | Start WebLogic. For details on starting WebLogic Server, refer to Starting/Stopping PowerServer.
Step 2: Access WebLogic Server Administrative Console from Programs | Appeon PowerServer 2017 | PowerServer for WebLogic | Instances | InstanceName | WebLogic Manager. The WebLogic Login window will appear.
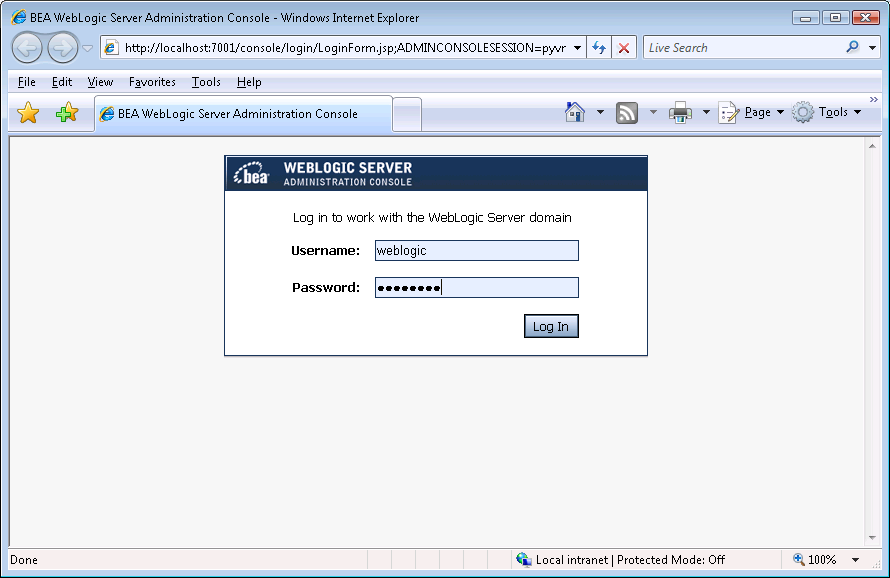
Step 3: Log in to the WebLogic console with the appropriate user ID.
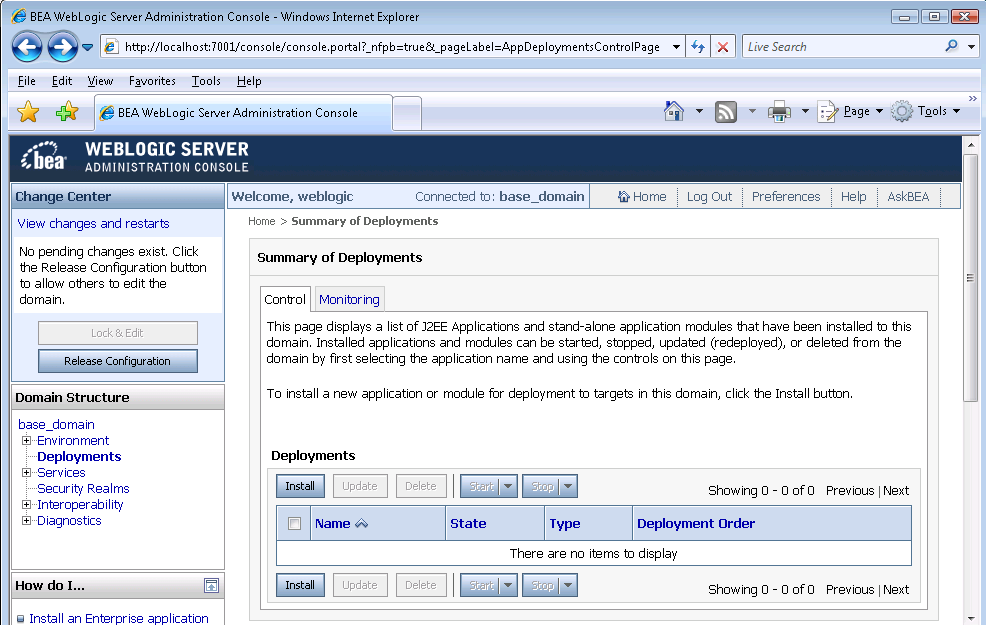
Step 4: Click the Deployment mode and click Lock & Edit in the left pane, and then click Install in the right pane.
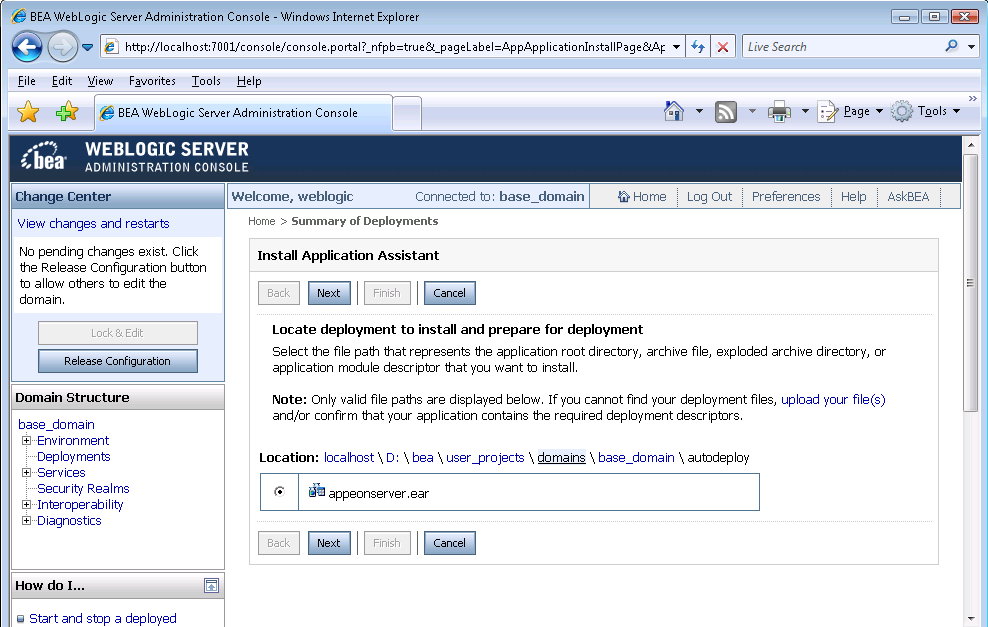
Step 5: Specify an application folder you want to install the appeonserver.ear using Install Application Assistant in the Install Application Assistant page, and then click Next.
The applications folder is where the PowerServer EAR package (appeonserver.ear) should be placed when it is installed to the WebLogic Server domain.
-
If you are using WebLogic 8, the appeonserver.ear resides in %BEA%\user_projects\domains\mydomain\applications.
-
If you are using WebLogic 9/10, the appeonserver.ear resides in %BEA%\user_projects\domains\mydomain\autodeploy.
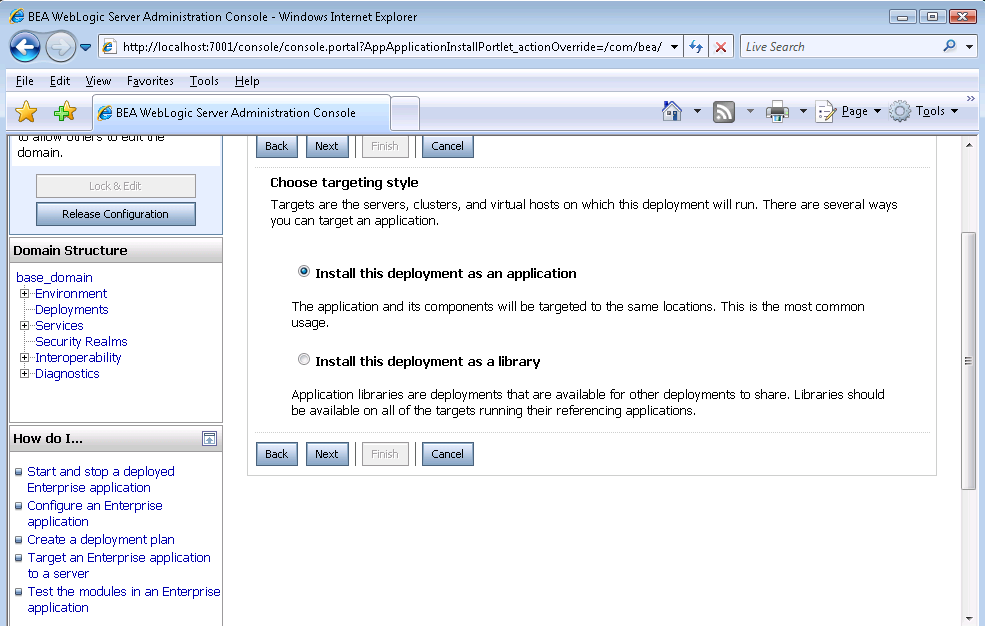
Step 6: Select Install this deployment as an application. Click Next.
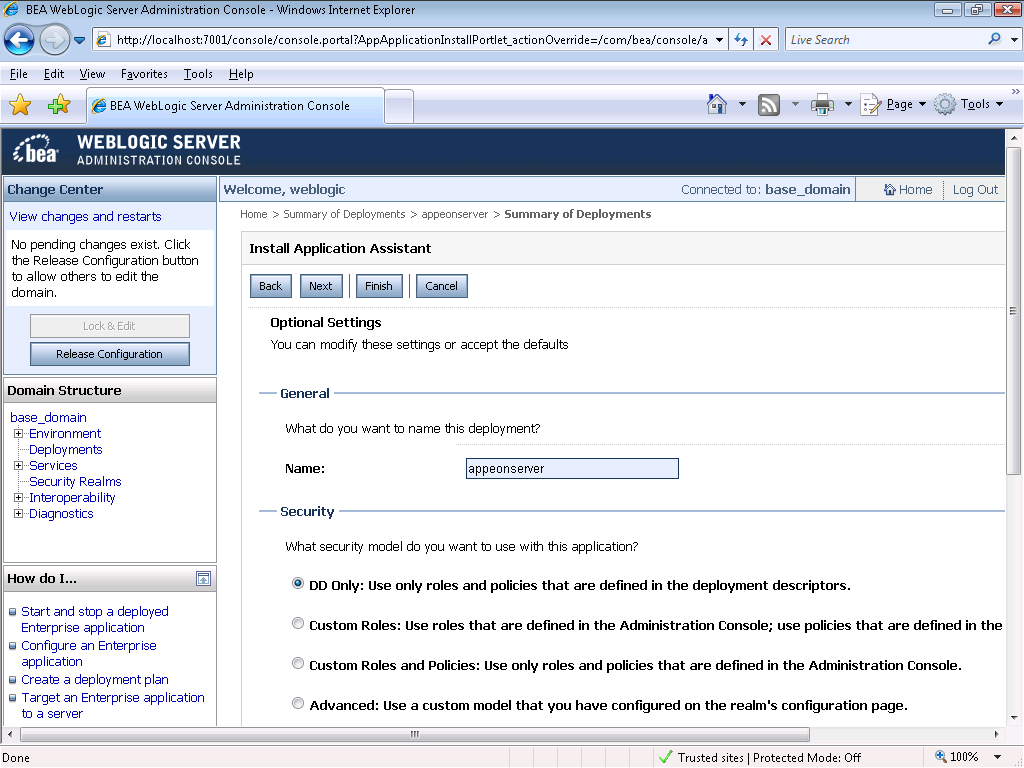
Step 7: Use the default settings, and then click Next.
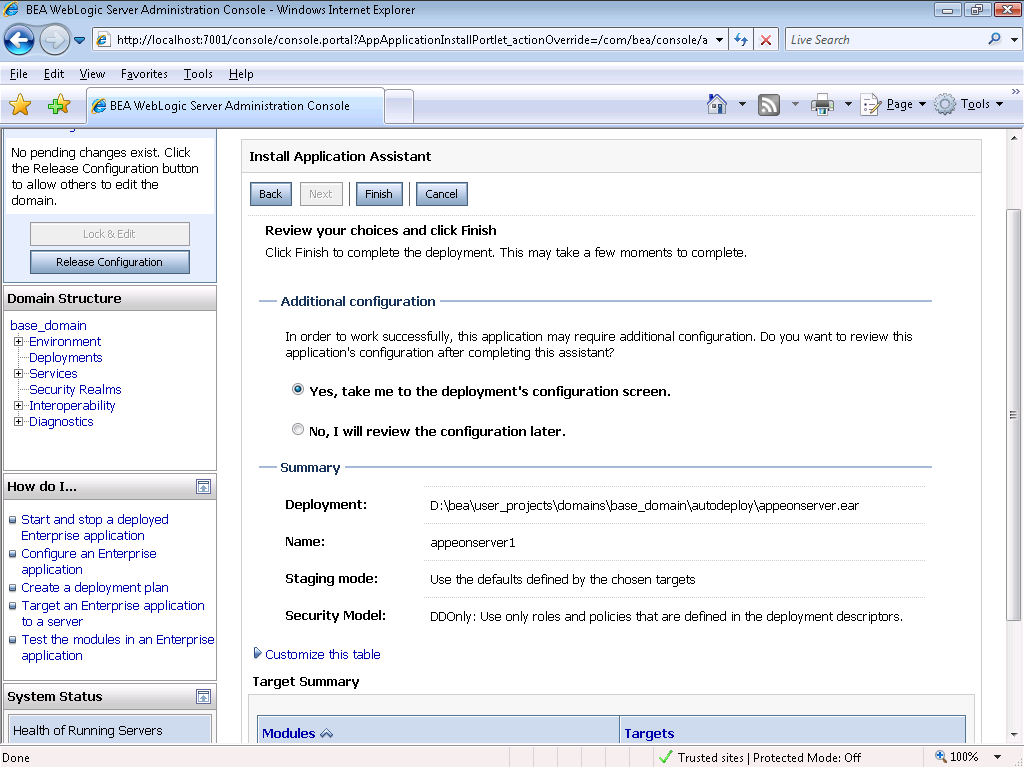
Step 8: Review and check the summary of settings you have chosen, select No, I will review the configuration later, and then click Finish, the Deployment page appears with the installed appeonserver.ear being displayed in the Deployment table.
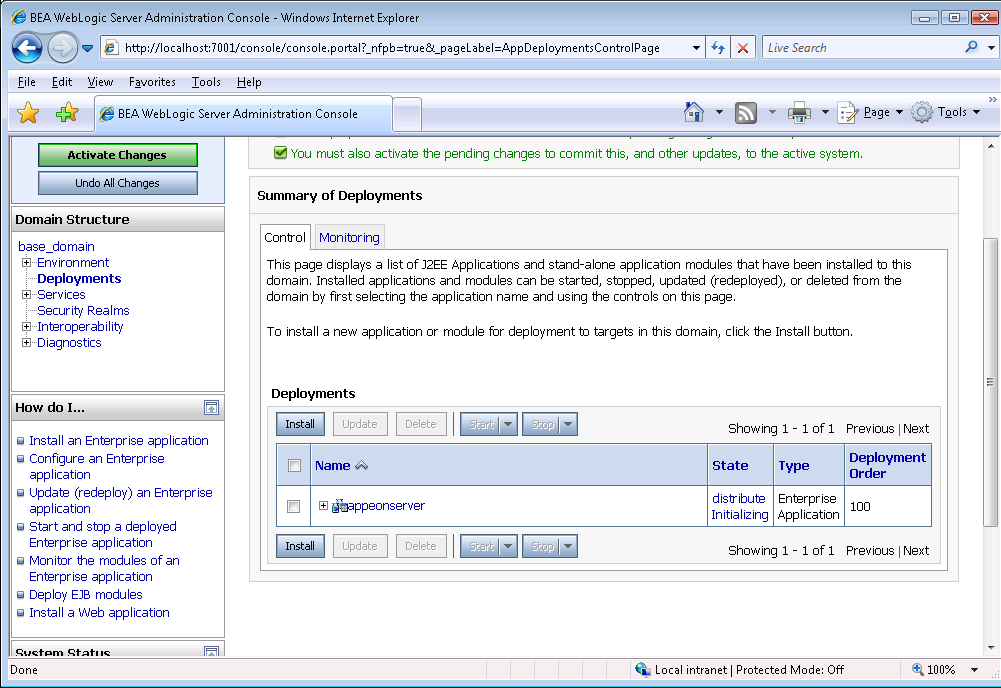
Step 9: Click the Active Changes in the left pane to commit your pending changes to the server.
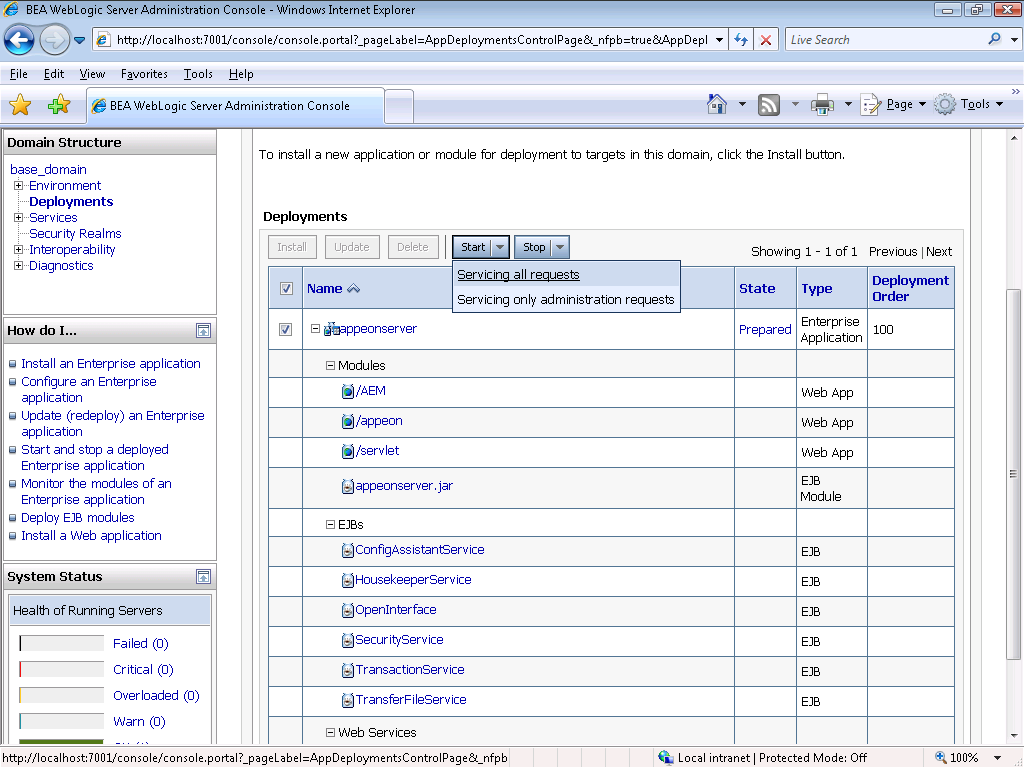
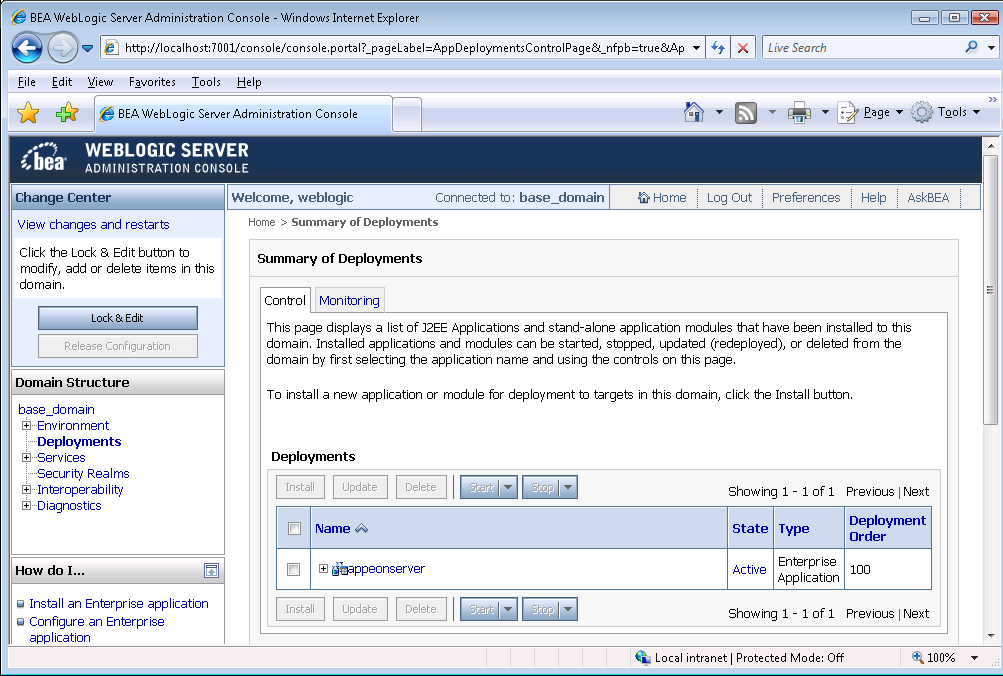
Step 10: Click the Start | Servicing all requests to deploy the appeonserver.ear file.
Step 11: Click Yes in the Start Application Assistant window.
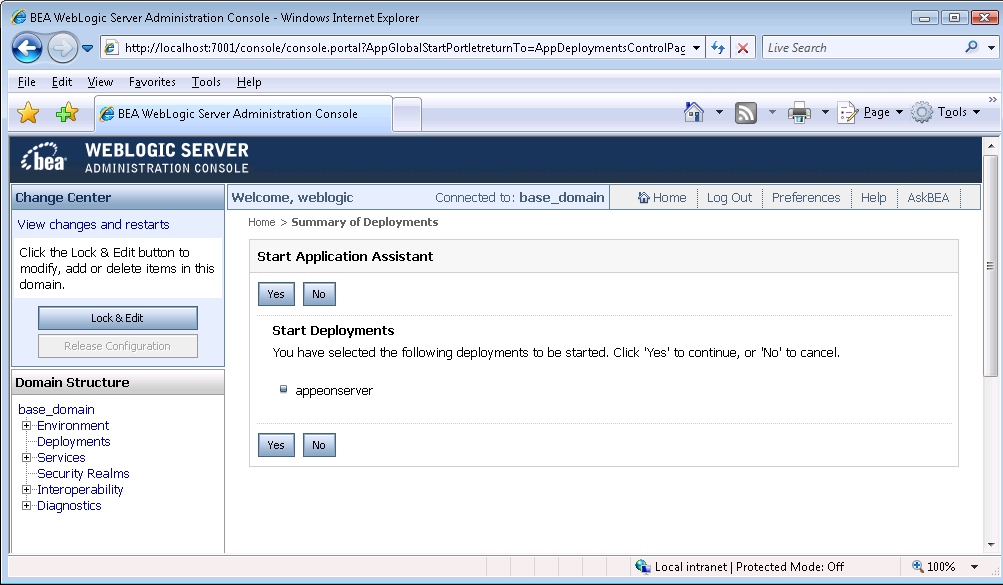
Wait until the appeonserver.ear is successfully deployed, and the State column shows Active.
Step 12: Go to Programs | Appeon PowerServer 2017 | PowerServer for WebLogic | Instances | InstanceName | AEM on the local machine to access AEM .
The successfully opened AEM login window confirms that the deployment was successful.
