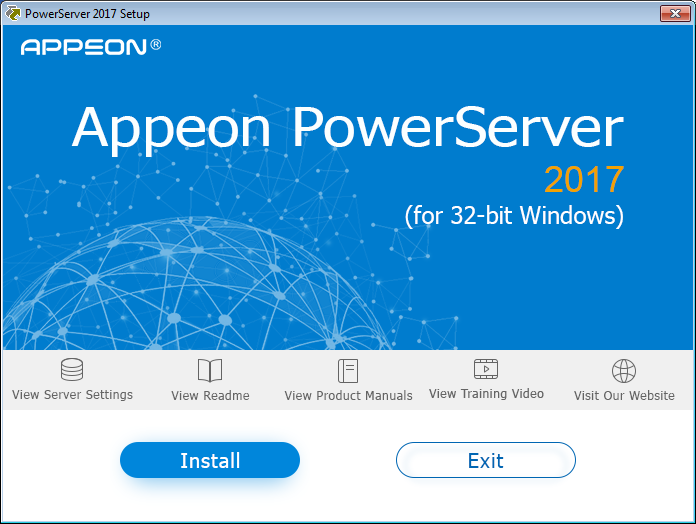
Step 1: Double click the Setup.exe file in the installation package. The Appeon PowerServer 2017 Setup program starts. The entry page has several options to guide you through the various installation tasks.
-
View Server Settings: Click this button to ensure that the application server settings are appropriate for the PowerServer Mobile/Web installation.
-
View Readme: Click this button to read the key system requirements and installation information for the product.
-
View Product Manuals: Click this button to read the user manuals for the product.
-
View Training Video: Click this button to watch the video to learn how to install the product.
-
Visit Our Web Site: Click this button to visit the Appeon web site.
-
Install: Click this button to start installing the product.
-
Exit: Click this button to exit the setup program.
Note: Make sure there is enough space on the C: drive for storing temporary files for installation. Otherwise an error message will pop up, saying "1607: Unable to install InstallShield Scripting Runtime".
Step 2: Click Install.
Step 3: Click Next on the introduction screen.
Step 4: Accept the terms in the license agreement page and click Next.
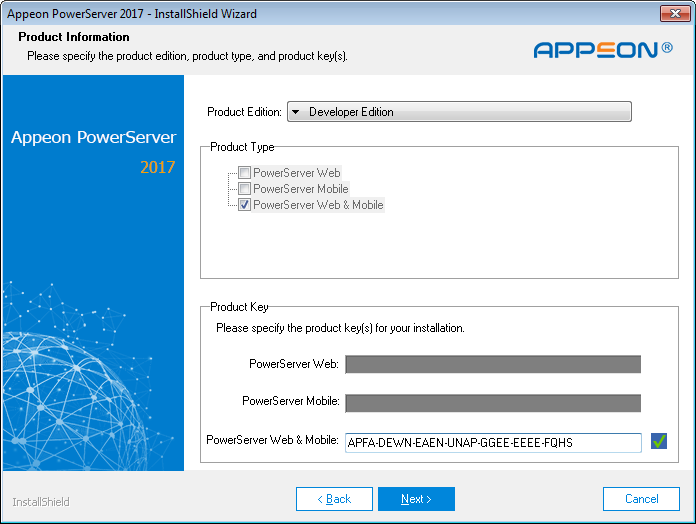
Step 5: According to the license you purchase, select the product edition and the product type: PowerServer Web, PowerServer Mobile, or PowerServer Web & Mobile, and then enter the product key which is shipped with the Appeon product. Click Next.
If you select the Developer edition (or the Trial edition), PowerServer Web & Mobile will be automatically selected so you can experience both the Web and Mobile deployments at no additional charge.
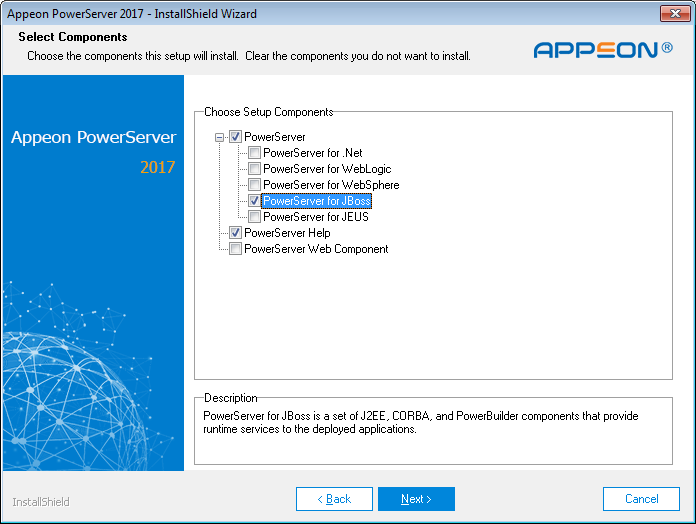
Step 6: Select the component(s) you want to install and click Next. The Setup program will install the selected component(s) in the order listed.
For the WildFly or JBoss EAP application server, be sure to select PowerServer for JBoss, as shown in the following figure.
For Developer Edition and Trial Edition, if more than one application servers such as JBoss, WebSphere, etc. are installed on the same computer, you can repeatedly run the setup program to install PowerServer to these application servers, for example, you can first run the setup program and select PowerServer for JBoss to install PowerServer to the WildFly application server, you can then run the setup program again and select PowerServer for WebSphere to install PowerServer to the WebSphere application server.
Refer to the following sections to complete the installation of each component.
-
For PowerServer Mobile/Web installation instructions, refer to PowerServer Mobile/Web installation.
-
For PowerServer Help installation instructions, refer to PowerServer Help installation.
-
For PowerServer Web Component installation instructions, refer to PowerServer Web Component installation.
Note
If you are using one WildFly or JBoss EAP application server as both the PowerServer and the Web server, then you will not need to install PowerServer Web Component, because it is included in PowerServer and will be installed automatically during PowerServer installation.
